
If you glance out your window, the weather may not feel like Spring quite yet. Though Mother Nature may not always agree, the calendar doesn’t lie. Spring has arrived! If the weather is keeping you and the kiddos indoors, get in the crafting mood!
These three Spring-inspired crafts for kids are easy to do with the whole family. Clean out the arts-and-crafts cabinet during your Spring cleaning, get out your pom poms and glue, and hop to it!
#1: Let the kids greet the Easter Bunny with bunny noses!

Rabbit teeth never stop growing! Bunnies have four sharp incisors in the front of their mouth for slicing through crunchy veggies. Behind them, their smaller teeth are called “pegs.” A bunny’s diet is very important to their dental health, just like it is for us! If a rabbit is on a pellets-only diet, it’s not able to properly wear down its teeth. This can lead to problems for the bunny, so make sure your bunnies are getting pellets, veggies, and hay (it requires a lot of chewing!)
Get your home in the bunny spirit! All it takes is a few materials to turn little boys and girls into bunnies! This simple kids’ springtime craft is fun for all ages—even tiny tots.
Materials:
• 1 cardboard egg carton
• white paint
• 1 red pom pom ball
• 1 sheet white cardstock
• quick-drying glue
• pair of scissors
• small hole puncher
• elastic string
Directions:
1. Turn the egg carton upside down. With a sharpie, mark off two sections of your egg carton.
2. Cut out the section of the egg carton outlined so you have two sections of egg carton for the bunny cheeks.
3. With the egg carton longways, poke a hole in either end to thread the elastic.
4. Take the white paper and cut long rectangles for the teeth.
5. Paint the egg carton white.
6. After the paint dries, glue the red pom pom ball in the top/center of your egg carton for the bunny nose.
7. Glue the paper teeth on the center/bottom on the carton.
8. When all is dry, thread the elastic through the two holes. Secure with a knot on either end of the elastic on the inside of the carton after sizing the length of the elastic to fit around the head.
9. Add any painted accents, glitter, or accessories you please!
10. Grab some bunny ears at the store to complete the look.
#2 Make a golden egg fit for a prince or princess!
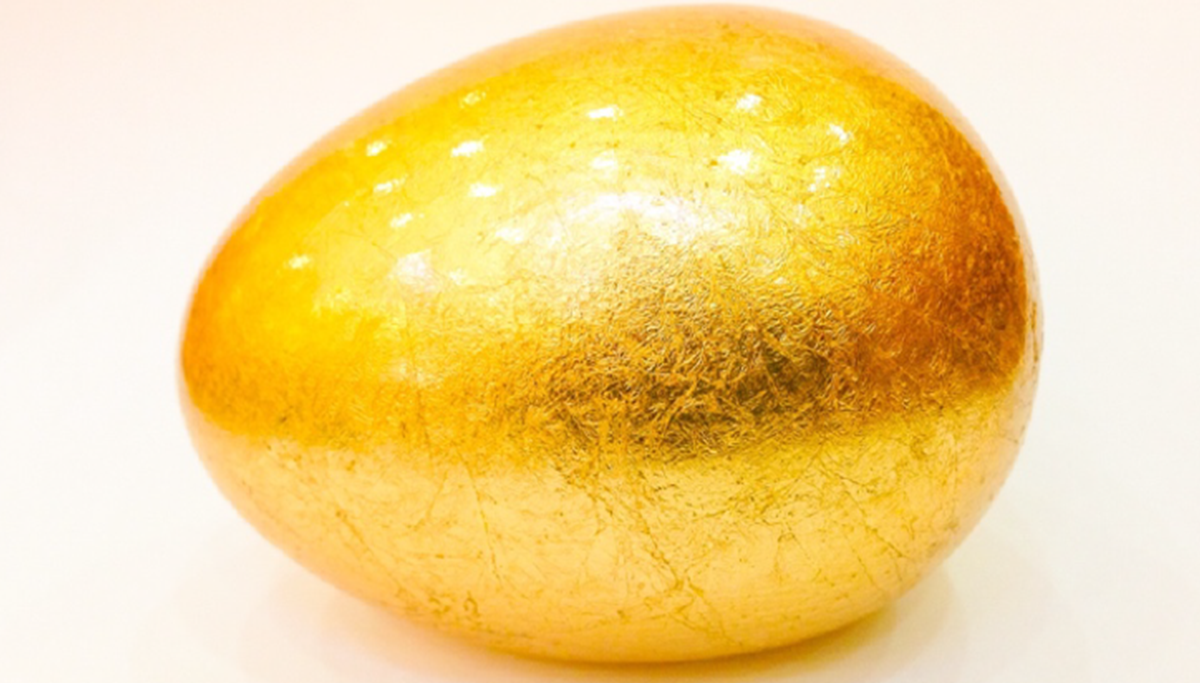
Eggs are fun to craft with and great to eat. They’re packed with protein and phosphorous, which supports your smile health! Our teeth and bones are made from a combination of calcium, phosphorus, and Vitamin D. Are you getting enough protein to keep your teeth healthy and reduce decay?
This kids’ springtime craft requires a few things you may not find during your Spring cleaning.
Materials:
• 1 or more plastic Easter eggs
• adhesive spray
• 1 sheet metal leaf from a craft store
• 1 small, soft-bristled paintbrush
• washi tape for decorating (optional)
Directions:
1. Spray your plastic Easter eggs with the adhesive spray. Wait two minutes or until dry.
2. Follow instructions on metal leaf to apply to the outside of your egg(s).
3. Adhere the leaf to the plastic egg securely by running the paintbrush along the leaf once in place.
4. If desired, create patterns with the washi tape!
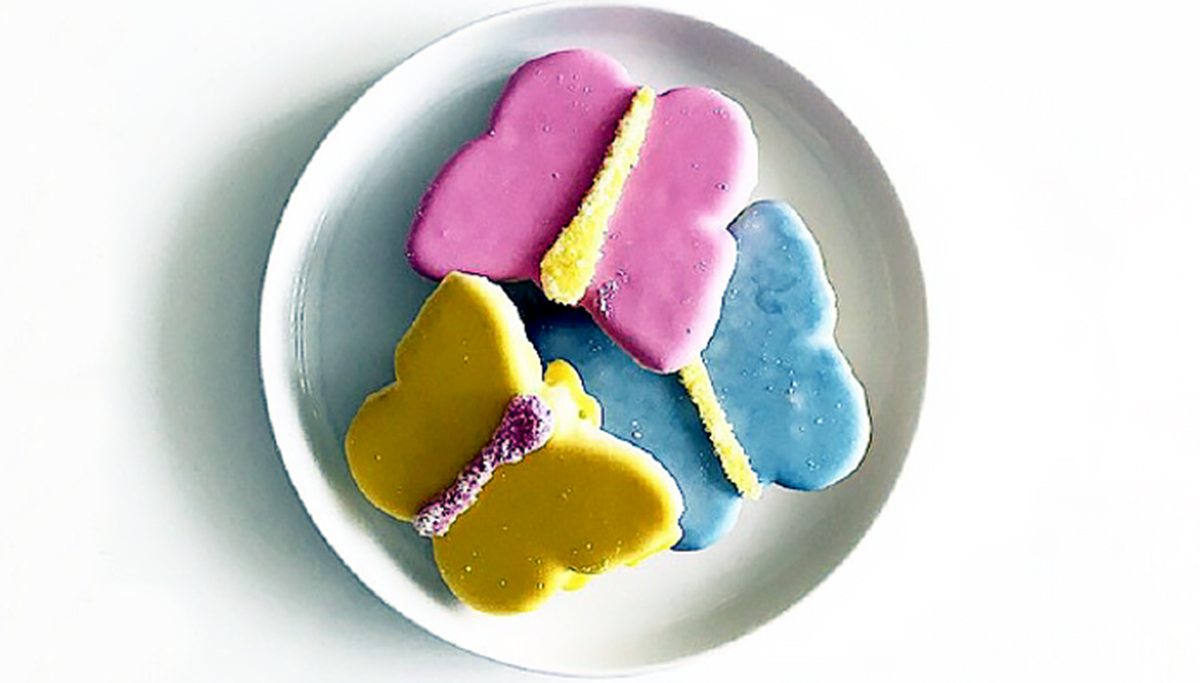
#3 These Spring cookies will fly off the plate!
Use a recipe like this one from xlear.com to make sugar-free cookies! You can be sweet on Spring without consuming sugar, which is harmful to our teeth and bodies if we consume too much.
The bacteria in our mouths love sugar as much as we do. When we eat sugar, they get to eat it, too. When they consume the sugar left on our teeth, they produce acid! This acid eats away at our enamel and can lead to tooth sensitivity, tooth decay, and gum disease. We recommend using a sugar substitute like xylitol to protect your teeth from the harms of sugar.
These cookies also contain calcium, a vital nutrient that helps keep teeth and bones strong. The cookie batter is low in sugar and the icing sugar-free.
After baking the cookies, use a butterfly-shaped cookie cutter to make them Spring-themed!
Ingredients:
• Xylitol cookies
• 1 1/2 tablespoons of meringue powder
• 1/4 teaspoon of vanilla extract
• 1/4 teaspoon of lemon extract
• 2 cups natural sugar substitute, like Lite & Sweet, Truvia, or agave
• 1/4 cup of room temperature water
• Food coloring (various colors)
Directions:
1. Prepare the Xylitol cookies and cut them with a butterfly cookie cutter.
2. In a medium mixing bowl, whisk the sugar substitute and meringue powder together until mixed.
3. Add vanilla and lemon extract and continue whisking.
4. Add water. Whisk for two minutes until peaks form.
5. Divide icing into separate bowls and add food coloring (1-2 drops per bowl).
6. Transfer icing to pastry bags and decorate the cookies as desired!
Which Spring craft for kids are you going to try first? Tag us when you share your crafts or cookies on social media!